|
Safe Share for Windows User's Guide
|
|
Safe Share for Windows User's Guide
|
To install Safe Share for Windows, your Windows computer must meet the following minimum system requirements:
Windows 7 with Service Pack 1 (32-bit and 64-bit versions) and later.
Safe Share for Windows also depends on the following software libraries being installed on your operating system:
Tips and Notes:
- The
.exeversion of the Safe Share for Windows installer automatically installs these software libraries (above), if they have not yet been installed.- If planning to install Safe Share for Windows using the
.msiversion of the installer, be aware that this installer neither includes nor installs these software libraries (above). Hence, these libraries must first be installed on all computers that the.msiversion of the Safe Share for Windows installer will be run on.
These instructions are for user-driven/manual installations of Safe Share for Windows as opposed to remote/silent installations of the application, which would typically be conducted by a systems administrator (within your organization).
Note: If Safe Share for Windows has already been installed on your computer (because it was installed remotely/silently by a systems administrator), then there is no need to follow this procedure, as is likely to be the case for configuring your Covata Platform instance and upgrading procedures. If Safe Share for Windows has already been installed and configured on your computer, continue on to Starting Safe Share for Windows and signing in.
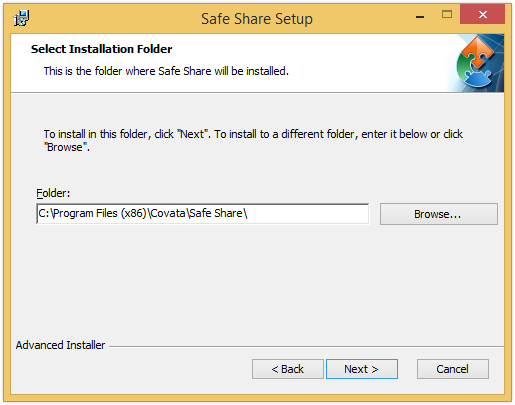
To install Safe Share for Windows:
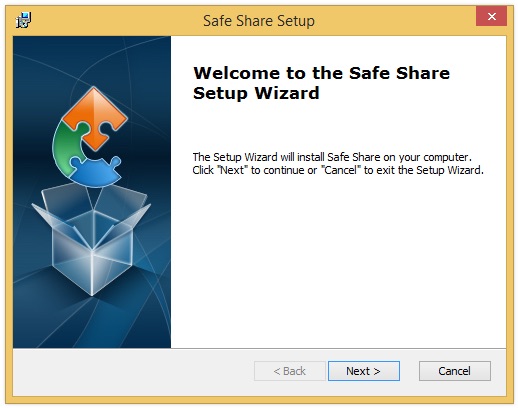

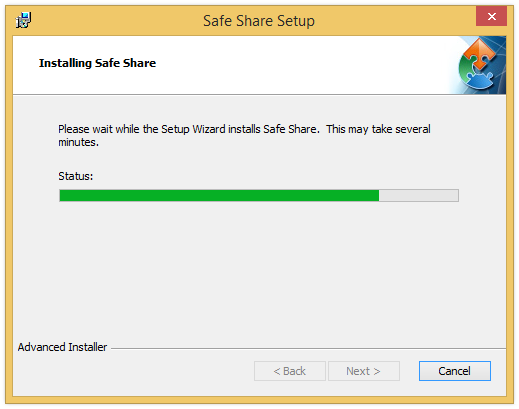
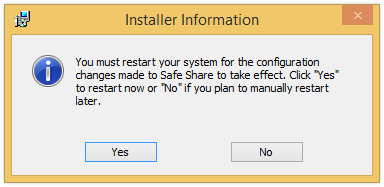
.exe version of the Safe Share for Windows installer and certain prerequisites (i.e. software library requirements for Safe Share for Windows) are missing from your computer, the Setup Wizard will automatically begin installing them before continuing on with the Safe Share installation itself (above). You may be asked to restart your computer before the actual Safe Share Setup Wizard (above) continues; this should happen automatically after your computer restarts.
If your computer has just restarted after the installation process, Safe Share for Windows displays the Configure Service Address dialog box to configure your Covata Platform instance (which Safe Share for Windows integrates with to upload your secured data to remote storage, share this data and download data from storage):
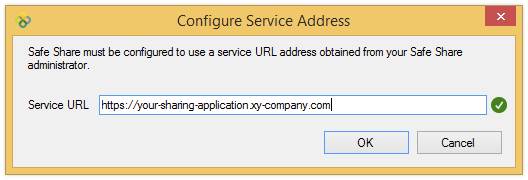
Note: If Safe Share for Windows has already started but this dialog box still does not appear, then it is possible that Safe Share for Windows was previously installed on your computer without the complete removal of its registry keys (following an uninstall). If you need to update the Covata Platform instance that Safe Share for Windows will use, see Modifying the Covata Platform URL.
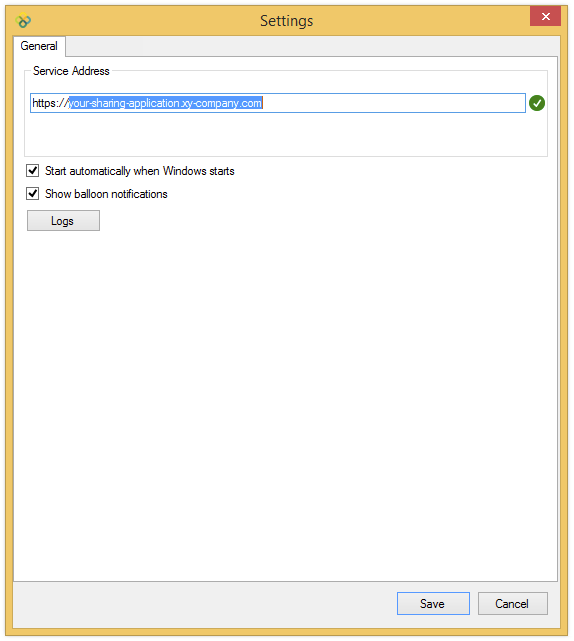
Specify the URL of your Covata Platform instance in this dialog box. This URL can be obtained:
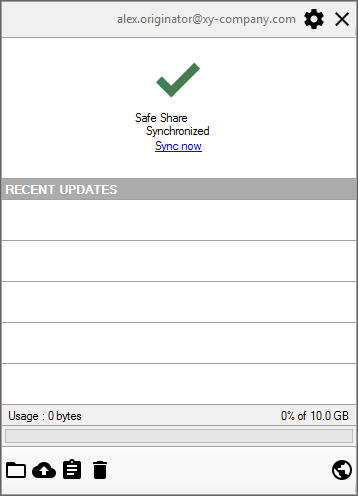
After clicking OK and the application verifying that the URL specified is that of a valid Covata Platform instance, Safe Share for Windows automatically prompts you to sign in by opening the 'Sign In' dialog box. Otherwise, you can sign in manually.
These instructions are for user-driven/manual upgrades of Safe Share for Windows as opposed to remote/silent upgrades of the application, which would typically be conducted by a systems administrator.
To upgrade Safe Share for Windows:
These instructions are for a user-driven/manual removal of Safe Share for Windows as opposed to remote/silent removals of the application, which would typically be conducted by a systems administrator.
To uninstall Safe Share for Windows:
Note: The registry keys for Safe Share for Windows (one of which contains the URL of your configured Covata Platform instance) are not removed as part of this process. To completely remove Safe Share for Windows from your computer, delete the registry key:
HKEY_CURRENT_USER\Software\Covata\Safe ShareIf you do not delete this registry key and at a later point in time, re-install Safe Share for Windows, then the Configure Service Address dialog box will not be shown after the installation process is completed. To re-configure/update the URL of your Covata Platform instance, you will need to modify the Covata Platform URL.
Important: Modifying the Windows registry can irreparably damage your operating system if you are uncertain of what you are doing. If you are unfamiliar with modifying the Windows registry, ask someone who is (e.g. a systems administrator) to assist you with this process.
To modify the Covata Platform URL: