Locate the disabled user account whose entire secured content is to be transferred to another user account. Tips:
If the list of disabled user accounts spans more than one page, use either of the following features to find a specific user account (or subset of these accounts):
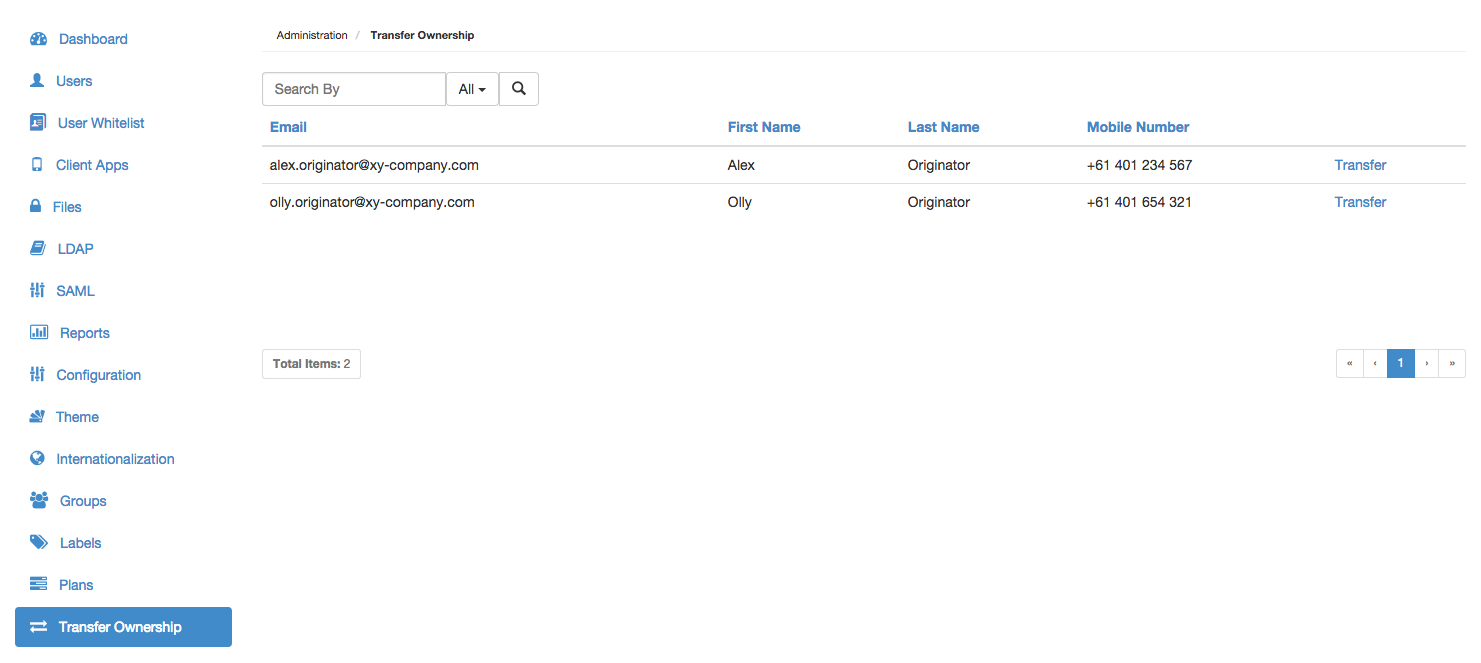
Filter user accounts - In the Search by... box (right of the Users page), begin typing a series of characters contained in any of the users' Email, First Name or Last Namefields. This filters the list of users on the Covata Platform to those whose Email, First Name or Last Name contains the subset of characters entered into the Search by... box.
By default, the Email, First Name or Last Name fields are used for filtering (i.e. All), although filtering can be restricted to just one of these fields using the adjacent drop-down.
Navigate to specific user accounts - Use the page navigation buttons (lower-right of the Users page), which work in conjunction with the adjacent 25/50/75/100 items (i.e. user accounts) per page dropdown.
You can also sort user accounts on the Users page by clicking the linked name (in the column header) of the field by which you would like to sort your users:
Clicking a linked field name multiple times toggles between sorting the users (according to that field) in ascending and descending order.
To revert back to the natural ordering of users in the list, simply refresh the page.
Click the Transfer link to the right of this user account.
In the Transfer to... dialog box, select the enabled user account who will become the new owner of the selected disabled user's secured content (above).
Click Continue and the enabled user (selected in the previous step) becomes the new owner of this secured content. This results in the entire hierarchy of files (i.e. Secure Objects) and folders (collections) which was owned by the disabled user being transferred to the root location of the enabled user within a folder called 'Transferred from ...'.