|
Microsoft Add-ins for SafeShare
|
|
Microsoft Add-ins for SafeShare
|
Search for SafeShare for Office and Install the add-in from the Microsoft Store by following the steps mentioned under How to install a Microsoft Add-in?. Once installed, it should appear on the ribbon bar.
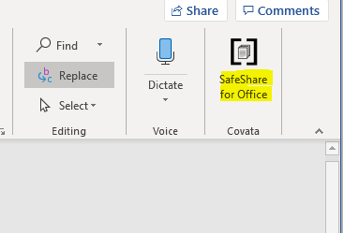
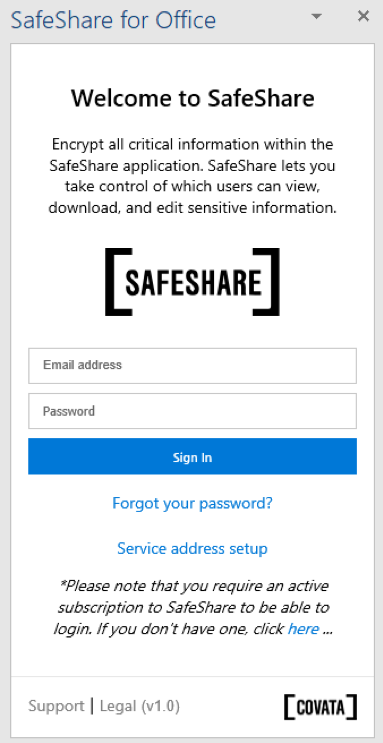
Click on the icon and the add-in should open as below:
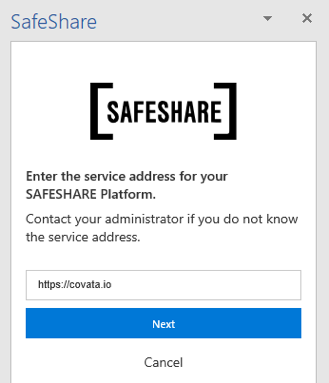
Check the “Service address setup” link and make sure this points to your unique instance id of SafeShare as below:
Enter your SafeShare login details and click “Sign In”. If you have Multi-Factor Authentication (MFA) enabled, you will be presented with the below screen:
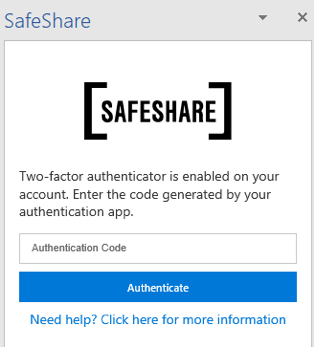
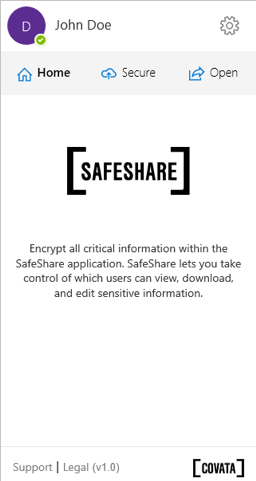
Enter your MFA details and click “Authenticate” and you should be taken to the Homepage:
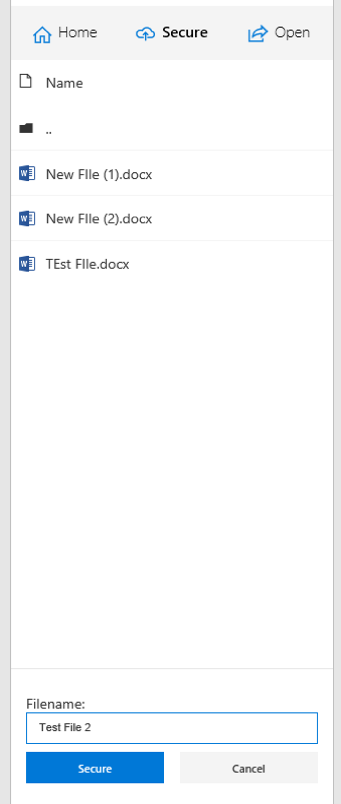
Pick a location within SafeShare, give it a file name and click the “Secure” button to securely upload the document as below:
Click OK once the file has been securely uploaded as below:
You will then be taken back to the Homepage. Click on "Open" to browse to your existing secured documents as below:
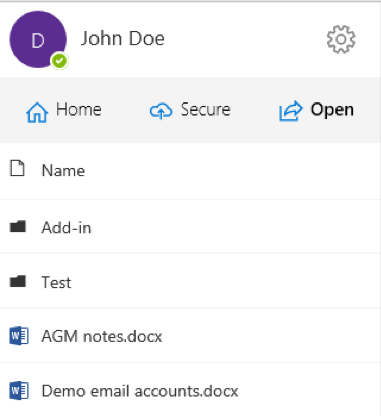
You should see all your folders/files, including the newly secured file/s you just uploaded. If you highlight a file you can either click on the 3 dots (…) or right-click on the file to see further options as below:
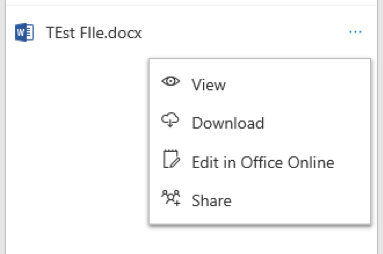
If you click “Edit in Office Online”, a browser window will open and you will be able to edit the file with Microsoft Online.*
*Please note that you will be prompted to login again if there is no active browser session for SafeShare.
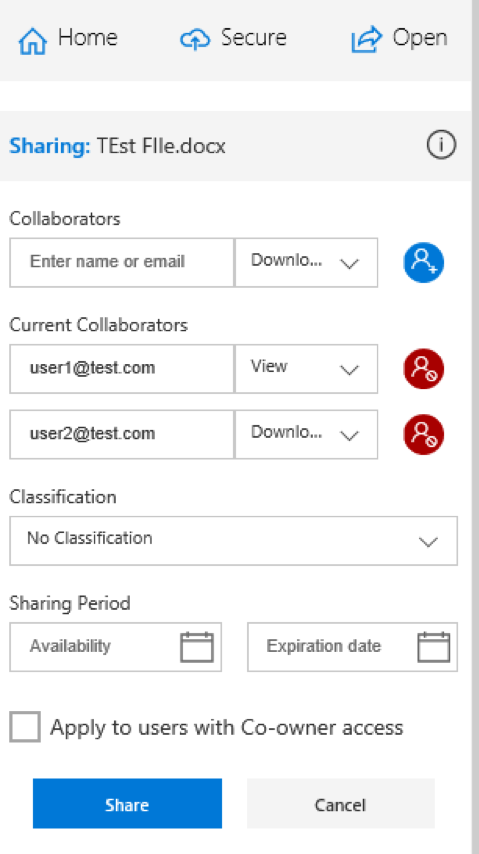
If you click on "Share", you will be able to edit the sharing permissions for a file as below:
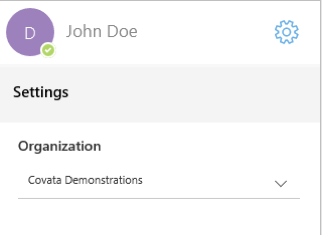
For Settings, click on the Settings wheel in the top right as below:
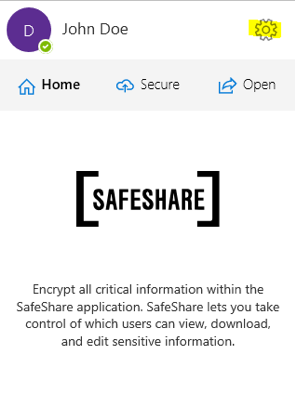
Here you will be able to switch between different organisations that you may belong to:
And “Sign out” as below:

Lastly, on the Homepage there are two links at the bottom, one for support which will open a browser window and take you to our support portal, and a legal link which opens a browser window and takes you to our licence agreement.