Microsoft Add-ins for SafeShare
Toggle TOC panel
Using the Microsoft Outlook Add-in

This section is split into two; one for composing a new email and the other for securely uploading an attachment from an existing email within Outlook.

Composing new E-mails

  1. Search for SafeShare for Outlook and Install the Add-in from the Microsoft Store by following the steps mentioned under How to install a Microsoft Add-in?. Once installed, it should appear on the ribbon bar.


    SafeShare for Outlook Add-in

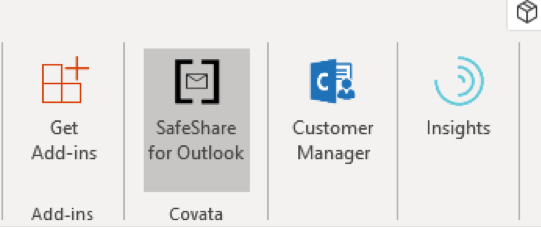
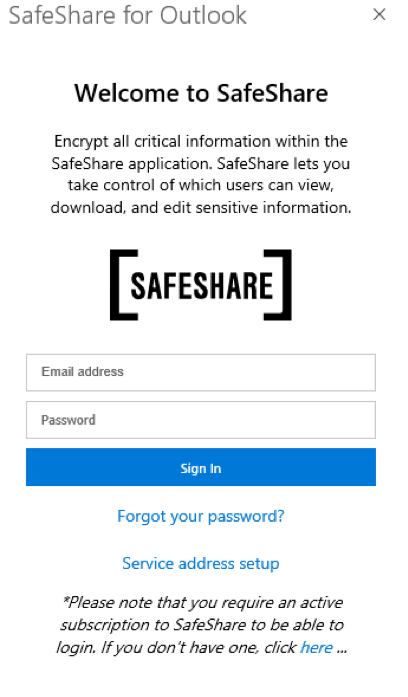
  2. Click on the icon and the Add-in should open and display a login page as below:


    SafeShare for Outlook Add-in Login Page

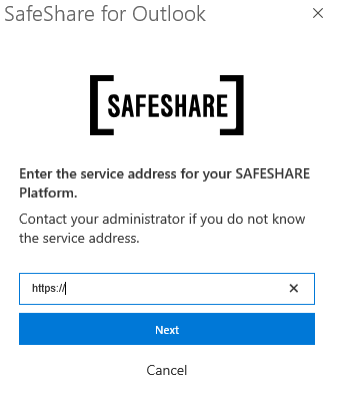
  3. Check the “Service address setup” link and make sure this points to your unique instance id of SafeShare as below:


    SafeShare Service Address Setup

  4. Enter your SafeShare login details and click “Sign In”. If you have Multi-Factor Authentication (MFA) enabled, you will be presented with the below screen:


    SafeShare MFA enabled

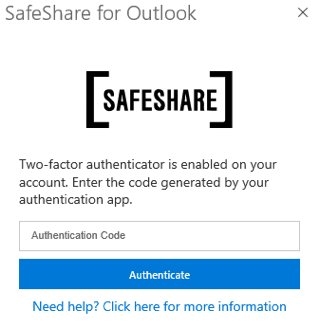
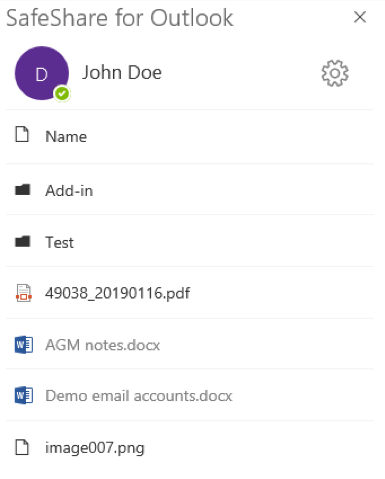
  5. Enter your MFA details and click “Authenticate” and you should be taken to the Homepage:


    SafeShare Outlook Add-in Home Page

  6. Once logged in you will be able to browse your existing SafeShare directory for a file you want to securely attach.
  7. To attach a file securely, first compose a new email and then click on the SafeShare icon again to open the Add-in. Once you have found a file, right click and select Attach or double click on the file.
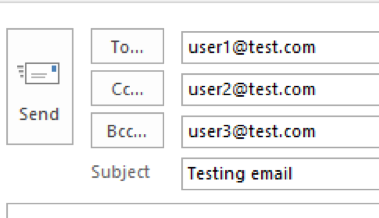
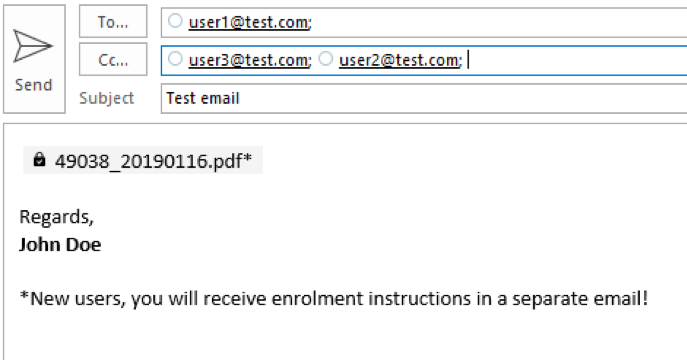
  8. This will open the “Sharing screen” and automatically insert any TO, CC and BCC email addresses that you are addressing the email too.


    Sharing a file using the Outlook Add-in


    Sharing a file using the Outlook Add-in

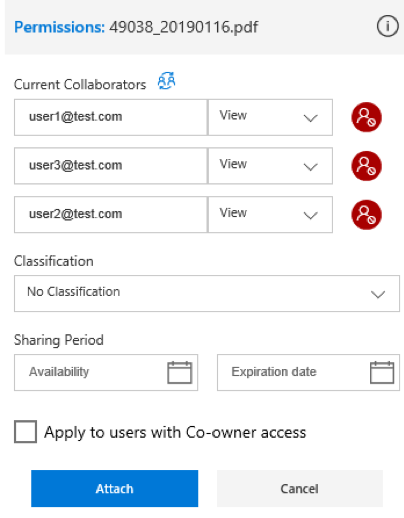
  9. When you click "Attach", a link is inserted into the body of the email at the point where your cursor is, as shown below:


    Insert link to a file using the Outlook Add-in

  10. All users on the email will then be able to click on the link and access the file via SafeShare. Permissions depend on what you have specified in Step 8. In this case “View only” permission was given.
  11. Please note, if the user is not on SafeShare already, they will receive a separate welcome/enrolment email from SafeShare when the link is sent to them. *A message is inserted automatically at the bottom of your email.

Uploading and Securing Attachments from E-mails

  1. You can also use the Add-in to securely upload an attachment from an existing email. Simply click on the email with the attachment and open the SafeShare Add-in.
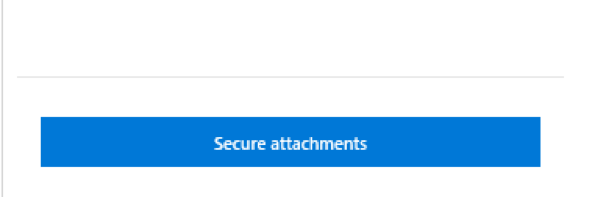
  2. Browse to the location within SafeShare that you want to securely upload the file to, and click on the “Secure attachments” button as below:


    Secure Attachments

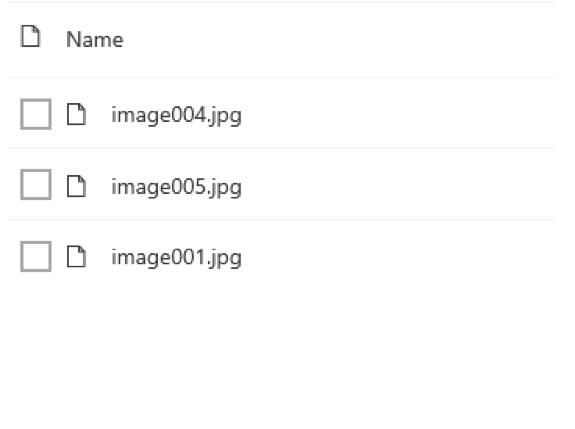
  3. This will open another screen and list all available attachments in the email you selected in Step 1 as below:


    List of Email Attachments

  4. Select one or multiple attachments and click on the “Secure” button to securely upload the attachments to SafeShare.
  5. When done, you will see a success message as below:


    Attachment Secured Successfully

  6. Click Ok and you will be taken back to the Homepage.
  7. You can now compose a new message and securely attach a link to the file you just uploaded.