|
Organisation Administrator's Guide
|
|
Organisation Administrator's Guide
|
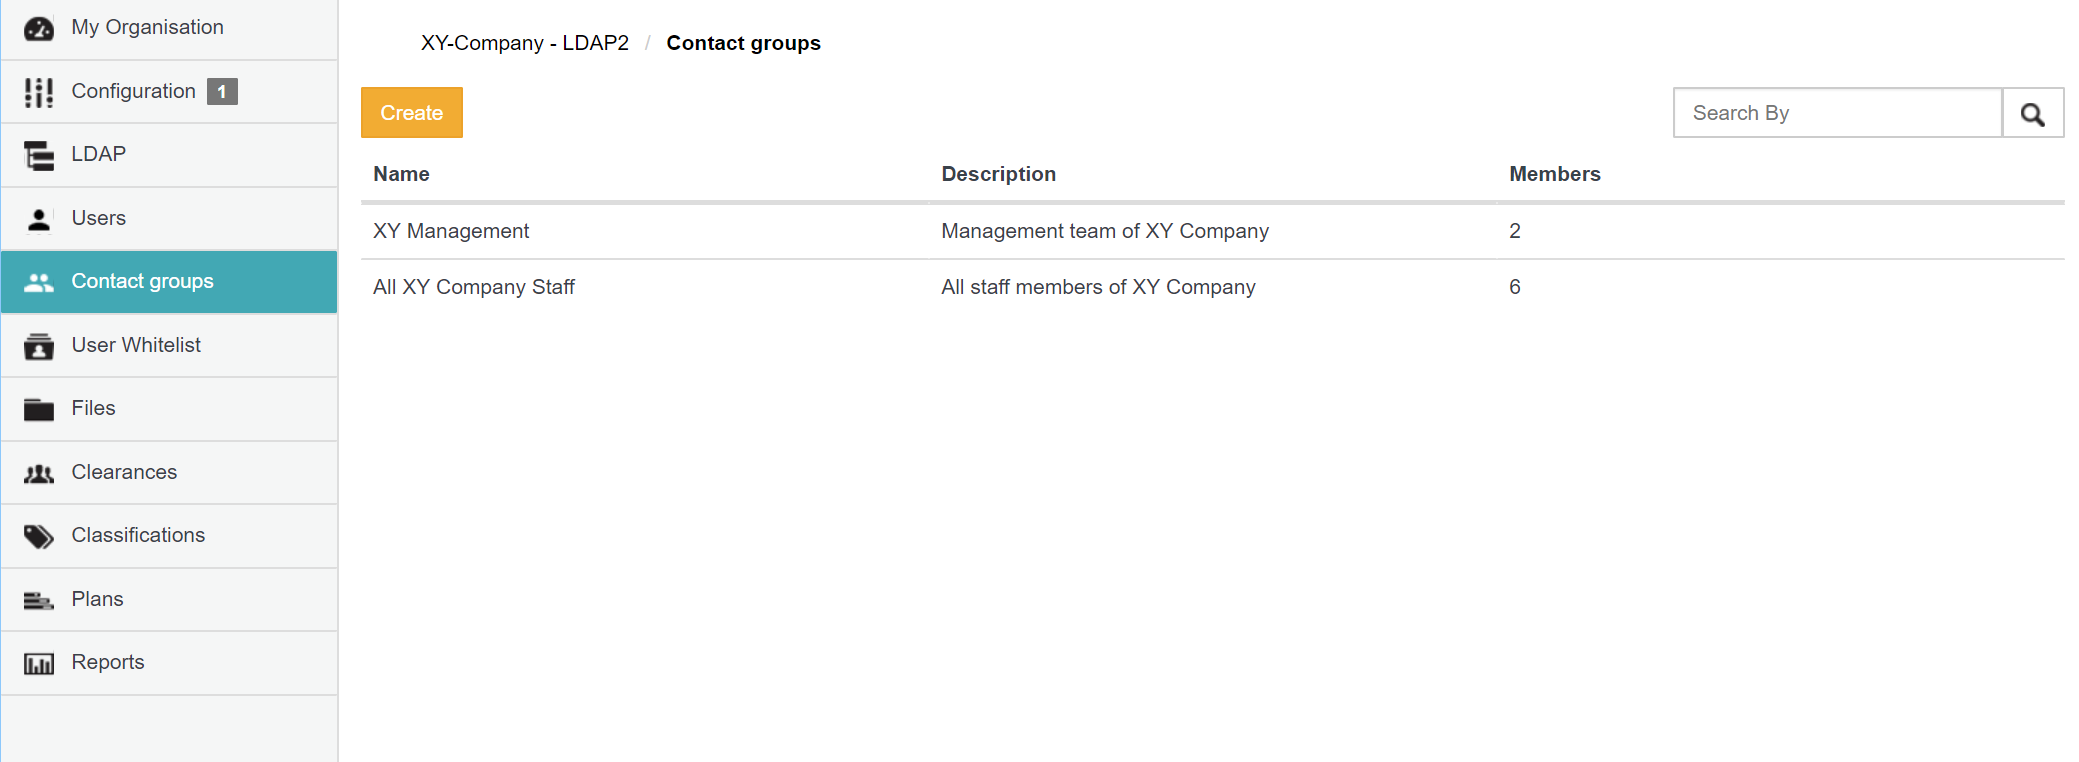
The Contact groups page of Organisation Administration (below) allows the following within an organisation:
Organisation administrators can create and modify contact groups, each of which is a group of Cocoon Data users (with the Originator role) with whom items can be shared. This avoids the need for a Cocoon Data user to specify each email address of a group of users each time they need to share an item with that group of users.
| To do the following: | Do this: | Which results in this: |
|---|---|---|
| Add a user to the contact group | Click the email address of that user in the Available users section. | Transfers that user to the Selected users section. |
| Remove a user from the contact group | Click the email address of that user in the Selected users section. | Transfers that user to the Available users section. |
| Find specific users by filtering them (making it easier to add or remove them above) | In either the Available users or Selected users sections, begin typing (into its respective Filter box) a series of characters contained in the Cocoon Data users' email addresses. | The list of users (in their respective section/s) being filtered to those whose email address contains the subset of characters entered into its Filter box. |
| Add all users to the contact group | Click the 
| Transfers all remaining users in this section to Selected users. |
| Remove all users from the contact group | Click the 
| Transfers all remaining users in this section to Available users. |
| To do the following: | Do this: | Which results in this: |
|---|---|---|
| Add a user to the contact group | Click the email address of that user in the Available users section. | Transfers that user to the Selected users section. |
| Remove a user from the contact group | Click the email address of that user in the Selected users section. | Transfers that user to the Available users section. |
| Find specific users by filtering them (making it easier to add or remove them above) | In either the Available users or Selected users sections, begin typing (into its respective Filter box) a series of characters contained in the Cocoon Data users' email addresses. | The list of users (in their respective section/s) being filtered to those whose email address contains the subset of characters entered into its Filter box. |
| Add all users to the contact group | Click the
| Transfers all remaining users in this section to Selected users. |
| Remove all users from the contact group | Click the
| Transfers all remaining users in this section to Available users. |